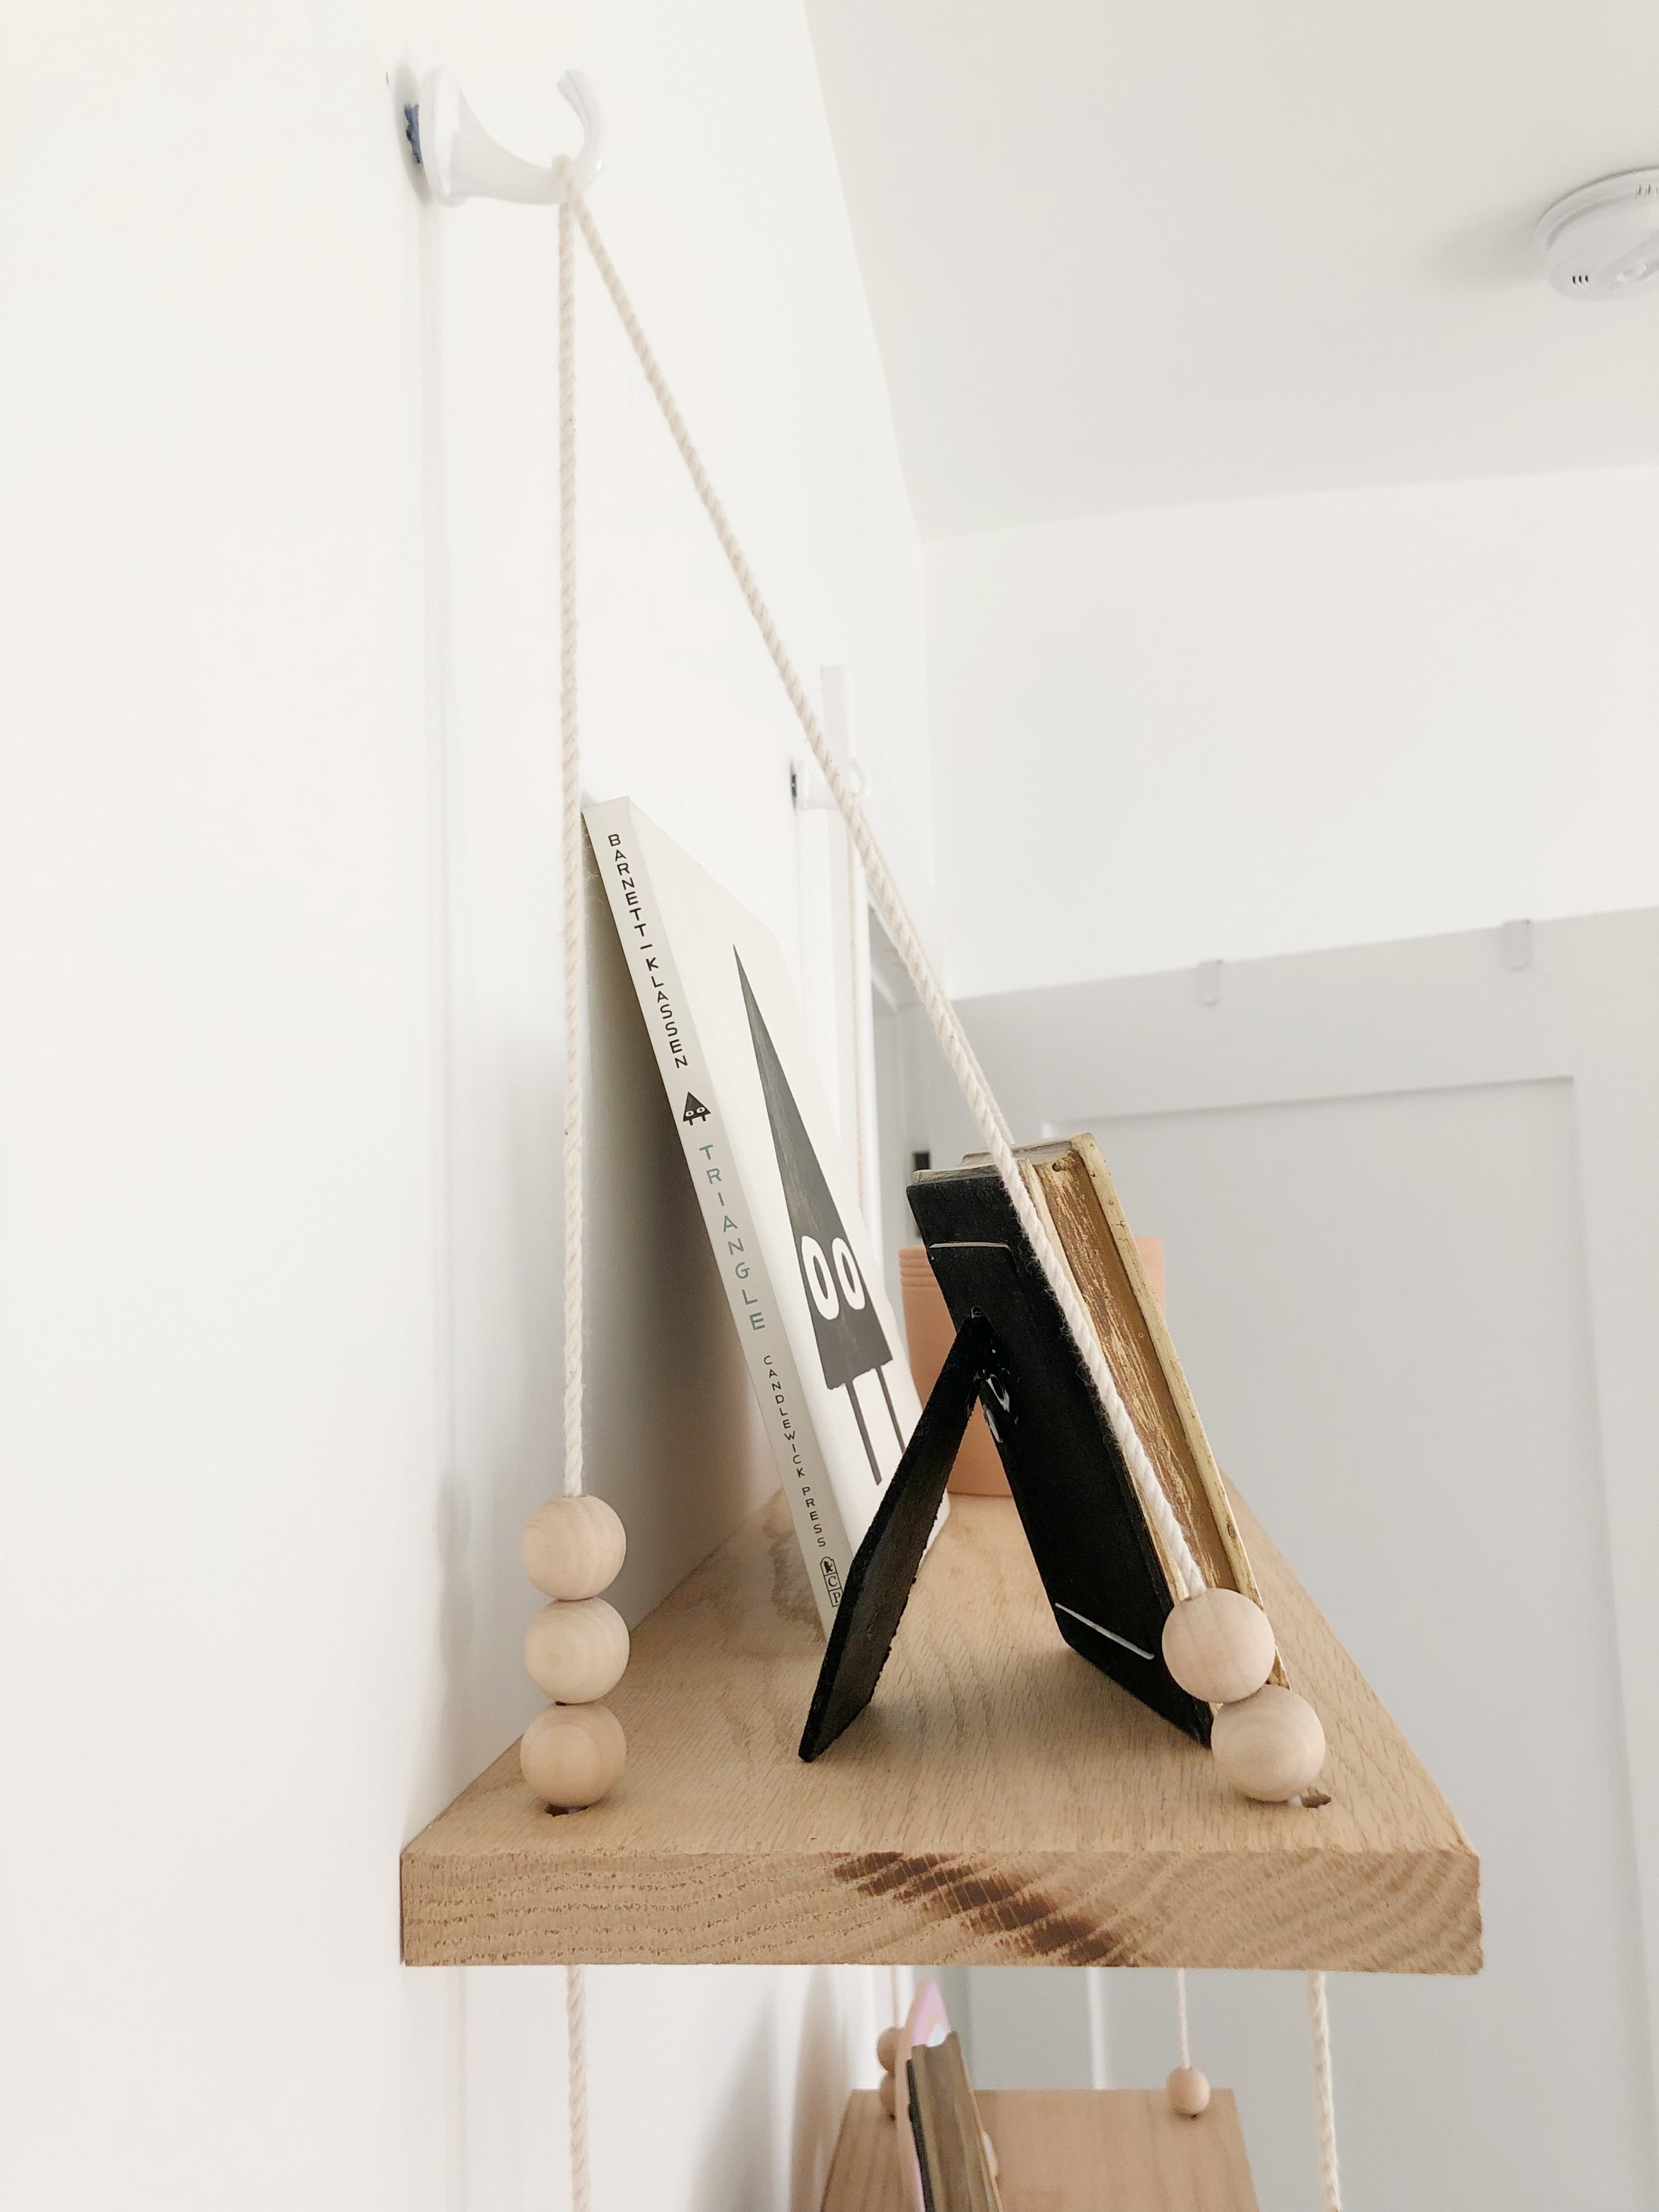
Before Justin and I moved into our house, we were in desperate need of a shelf in our bathroom and craft room. Since I had the time, I was on a mission to figure out how to make a swing shelf I saw at Anthropologie. I knew that I would not make an exact replica, but one that was more simple and fitted to my liking. Then, I had this idea that I wanted to make two shelves with some playful accents. I originally saw the design from this Scandanavian blog post. I couldn't quite make out the directions, but the pictures surely helped. I even added baby pictures of Justin and I in her room, ha!


*MATERIALS
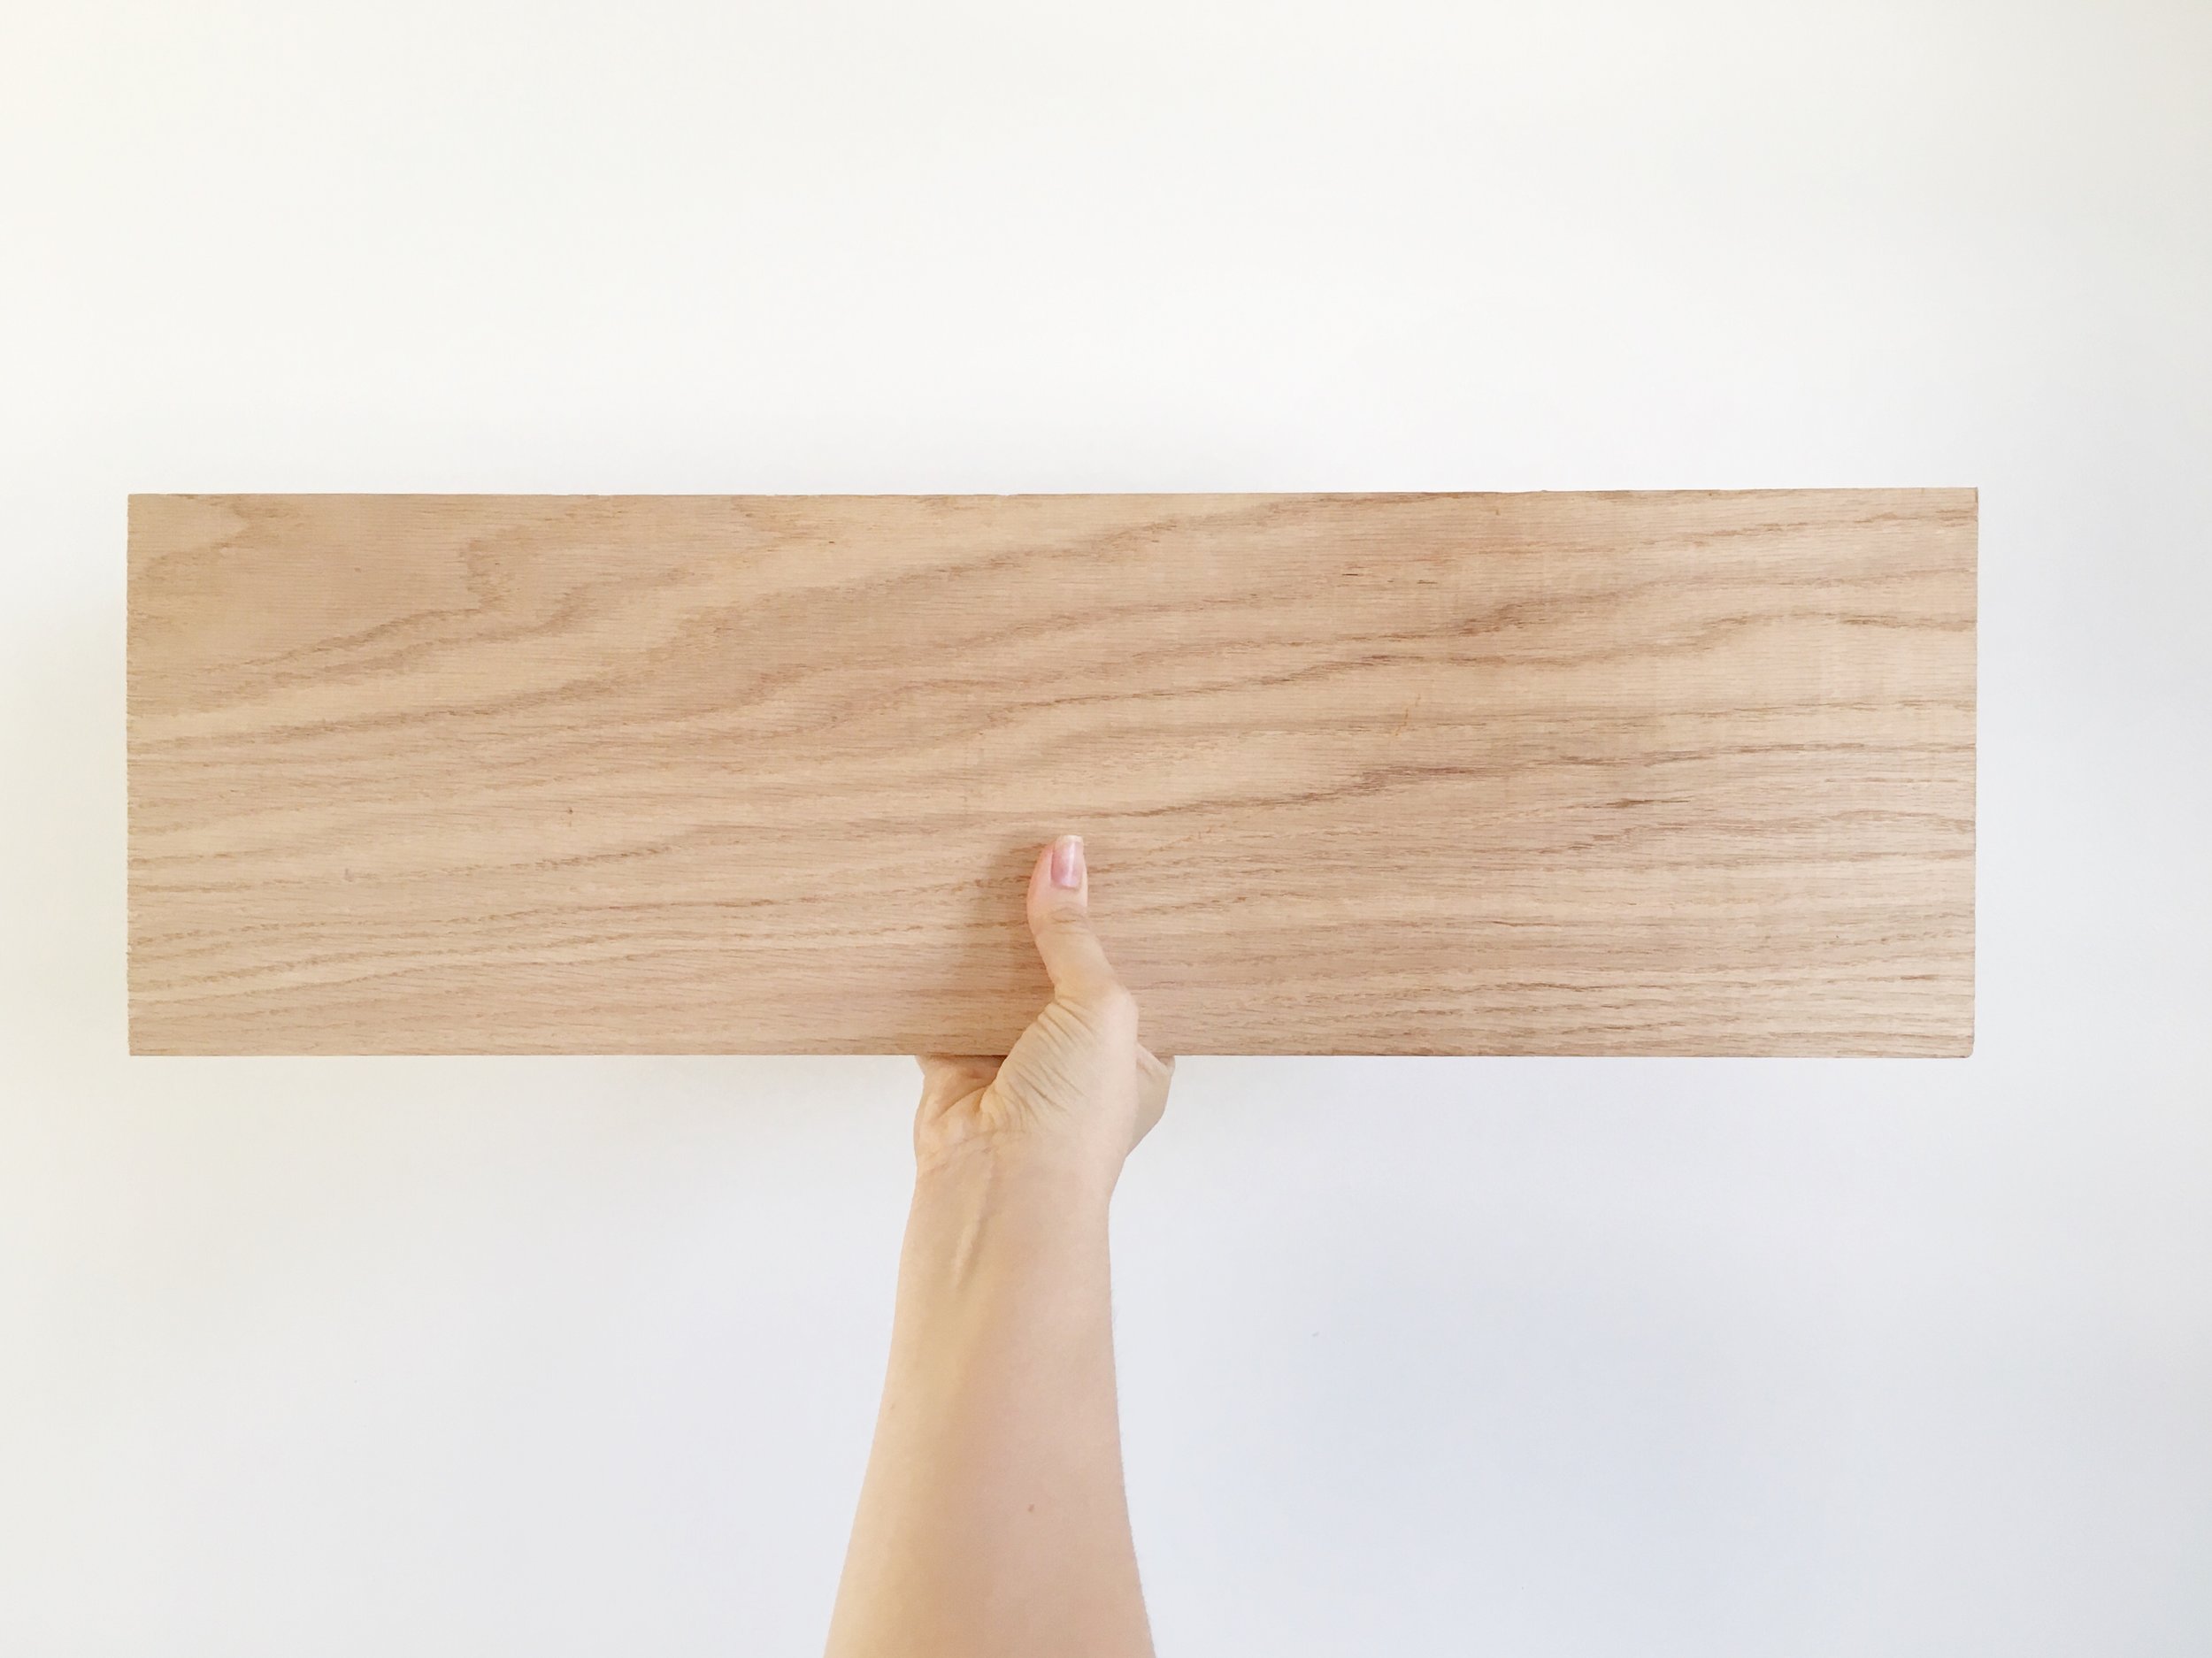
- red oak planks (divide the large plank in half; our planks ended up being roughly 1" x 7" x 48")
- wooden beads
- string
- nail hooks (make sure to get two)
- drill
- level
DIRECTIONS
1. Drill 1/2" sized holes in all four corners of both wood pieces.
2. Measure 1 inch away from both edges of all four corners and mark a pencil/pen mark to help you with the drilling location.
3. Drill your hole in an area that will allow for wood particles to fall on the floor, like the edge of a counter.
4. Sand down any rough edges around the holes.
5. Cut your desired length of string (2). We cut 2 pieces of string, both 10 feet each.
6. String 5 wooden beads through 1 strand of string. If you are having trouble getting the string through the bead, you can always tape the edge of the string to allow for a smooth slide. Decide how many beads you want to distribute for each side. Put each edge of the string through both holes on one edge of the shelf. Repeat this process for the other edge of the plank.
7. On the plank with the two strings, figure out the distance you want to hang the shelf on the hooks, flip the plank upside down, tie knots (about 2 knots so that it does not go through the hole) to secure the top plank. and put as many beads as you want for the second plank. We chose 3.
8. Install the hooks on the wall. Make sure you use anchors! Use a ruler with a level to make sure your shelf is not crooked and draw points for where you want your hooks to go in the wall.
9. Hang the shelf. Adjust the knots accordingly.
ITEMS ON SHELF
1. Unicorn doll (I also love this one too!)
2. Triangle book by Mac Barnett
3. P.F. Candle Co. Juniper Candle
4. Llama (similar here)
5. Embroidered hoop with name
6. Frame (part of set)
7. Clay rainbow
OPTIONS
*You can decide how long you want your string to be and the type of beads and how many you want. Also, you have the power to decide what hooks you want to use as well.


